CQRS與AutoMapper或Mapster(六)
呈上篇,我們已經將驗證透過IPipelineBehavior進行簡化了,以下是目前的程式碼
 1
 2
 3
 4
 5
 6
 7
 8
 9
10
11
12
13
14
15
16
17
18
19
20
21
22
23
24
25
26
27
28
29
30
31
32
33
34
35
36
37
38
39
40
41
42
43
44
45
46
47
48
49
50
|
[ApiController]
[Route("[controller]")]
public class WeatherForecastController : ControllerBase
{
    private readonly IMediator _mediator;

    public WeatherForecastController(IMediator mediator)
    {
        _mediator = mediator;
    }

    [HttpPost]
    public async Task<IActionResult> CreateWeatherForecast(
		[FromBody] CreateWeatherForecastRequest request)
    {
        var command = new CreateWeatherForecastCommand
        {
            Nation = request.Nation,
            City = request.City,
            Date = request.Date,
            TemperatureC = request.TemperatureC,
            Summary = request.Summary,
        };

        var result = await _mediator.Send(command);

        return result ? Ok() : BadRequest();
    }

    [HttpPut("{id:int}")]
    public async Task<IActionResult> UpdateWeatherForecast(int id,
		[FromBody] UpdateWeatherForecastRequest request)
    {
        if (id != request.WeatherForecastId) return BadRequest();

        var command = new UpdateWeatherForecastCommand
        {
            WeatherForecastId = request.WeatherForecastId,
            Nation = request.Nation,
            City = request.City,
            Date = request.Date,
            TemperatureC = request.TemperatureC,
            Summary = request.Summary,
        };

        var result = await _mediator.Send(command);

        return result ? Ok() : BadRequest();
    }
}
|
其中我們可以看到CreateWeatherForecastRequest與CreateWeatherForecastCommand,兩個類別高度重複
1
2
3
4
5
6
7
8
9
|
// CreateWeatherForecastRequest.cs 類別
public class CreateWeatherForecastRequest
{
    public string Nation { get; set; }
    public string City { get; set; }
    public DateTime Date { get; set; }
    public int TemperatureC { get; set; }
    public string Summary { get; set; }
}
|
1
2
3
4
5
6
7
8
9
|
// CreateWeatherForecastCommand.cs 類別
public class CreateWeatherForecastCommand : ICommand<bool>
{
    public string Nation { get; set; } = string.Empty;
    public string City { get; set; } = string.Empty;
    public DateTime Date { get; set; }
    public int TemperatureC { get; set; }
    public string? Summary { get; set; }
}
|
有部分範例會直接使用 Command 取代 Request,但這會造成高層元件依賴低層。當然在簡單的專案上,是否需要完整切割,還是看個人與團隊的共識,減少類別與簡化實作也是一個選擇。
而本篇介紹另一個套件,AutoMapper,該套件已經存在數十年之久,也有相當多的專案採用與文章介紹,前幾篇有提到 AutoMapper 和 MediatR 均是出自 Jimmy Bogard 這位大神的手中,深遠的影響著大大小小的專案,該作者的Blog,也提出相當多,值得學習的觀點,包括 Repository 層是否實作的爭議。
由於相關介紹文章已經很多了,這邊只快速帶過,介紹導入步驟。
環境
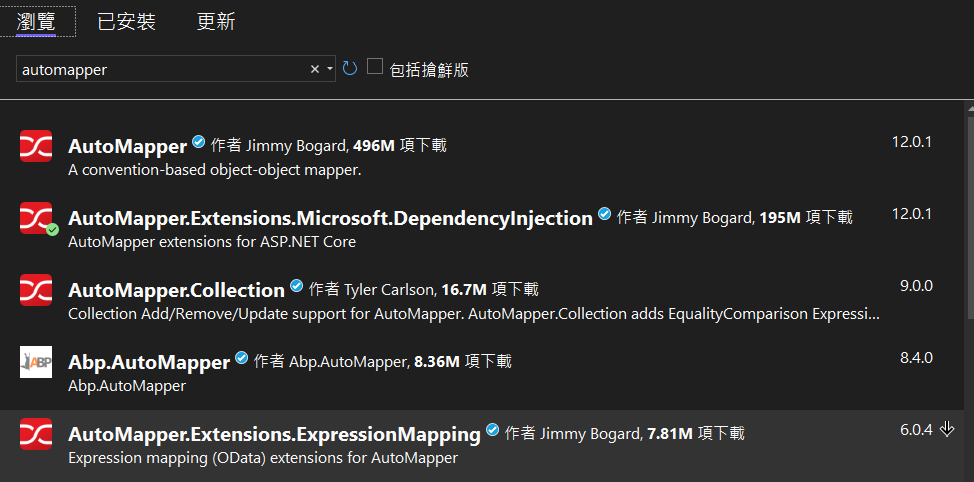
- AutoMapper.Extensions.Microsoft.DependencyInjection
官方告知從版本 13.0 開始,AddAutoMapper成為核心包的一部分,並且 DI 套件將停止使用。然而寫這篇的時候,最新版本為 12.0.1,所以我們還是安裝了AutoMapper.Extensions.Microsoft.DependencyInjection,才能使用AddAutoMapper
安裝 AutoMapper

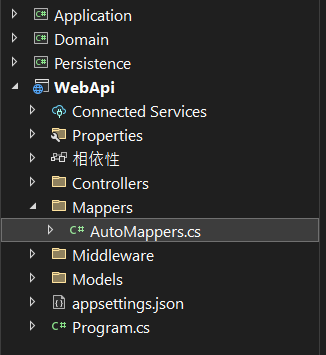
新增 Profile 實例
個人習慣會開一個 Mappers 資料夾,然後設定一個AutoMappers空類別,內部依照類別+Profile命名。
 1
 2
 3
 4
 5
 6
 7
 8
 9
10
11
12
13
14
15
16
17
18
19
20
21
|
public class AutoMappers
{
}

public class WeatherForecastProfile : Profile
{
    public WeatherForecastProfile()
    {
        CreateMap<CreateWeatherForecastRequest, CreateWeatherForecastCommand>();
        CreateMap<UpdateWeatherForecastRequest, UpdateWeatherForecastCommand>();
    }
}

// 其他類別的 Mapper Instances
//public class LocationProfile : Profile
//{
//    public LocationProfile()
//    {
//        CreateMap<TSourece,TDestination> ...
//    }
//}
|
在IServiceCollection註冊
1
|
builder.Services.AddAutoMapper(typeof(AutoMappers));
|
Controller引用IMapper
 1
 2
 3
 4
 5
 6
 7
 8
 9
10
11
12
13
14
15
16
17
18
19
20
21
22
23
24
25
26
27
28
29
30
31
32
33
34
35
36
37
38
39
|
[ApiController]
[Route("[controller]")]
public class WeatherForecastController : ControllerBase
{
    private readonly IMediator _mediator;
    private readonly IMapper _mapper;

    // 1.使用IMapper
    public WeatherForecastController(IMediator mediator, IMapper mapper)
    {
        _mediator = mediator;
        _mapper = mapper;
    }

    [HttpPost]
    public async Task<IActionResult> CreateWeatherForecast(
		[FromBody] CreateWeatherForecastRequest request)
    {
        // 2.轉換型別
        var command = _mapper.Map<CreateWeatherForecastCommand>(request);

        var result = await _mediator.Send(command);

        return result ? Ok() : BadRequest();
    }

    [HttpPut("{id:int}")]
    public async Task<IActionResult> UpdateWeatherForecast(int id,
		[FromBody] UpdateWeatherForecastRequest request)
    {
        if (id != request.WeatherForecastId) return BadRequest();

        var command = _mapper.Map<UpdateWeatherForecastCommand>(request);

        var result = await _mediator.Send(command);

        return result ? Ok() : BadRequest();
    }
}
|
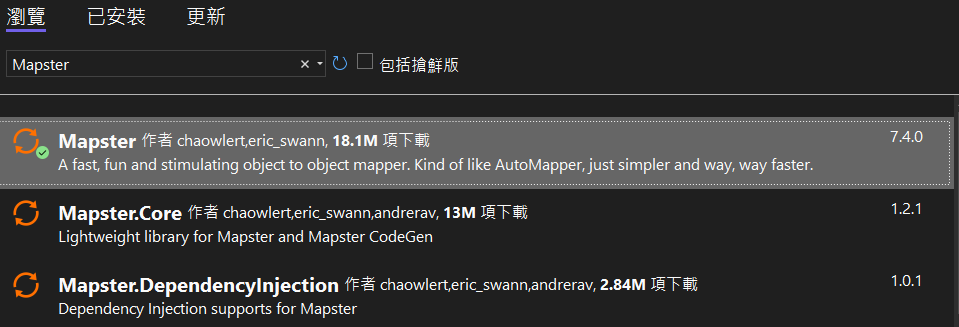
同場加映 Mapster
Mapster,也是一款物件自動對應工具,與 AutoMapper 功能相似,速度更快、檔案更小且更易用的選擇。
安裝 Mapster
物件轉換
如果是兩個屬性名稱相同的物件轉換,則在來源物件上直接使用Adapt即可,不需要額外設定,也不需要建構子注入,就是這麼簡單易用。
 1
 2
 3
 4
 5
 6
 7
 8
 9
10
11
12
13
14
15
16
17
18
19
20
21
22
23
24
25
26
27
28
29
30
31
32
33
34
35
36
37
38
39
40
41
42
43
|
[ApiController]
[Route("[controller]")]
public class WeatherForecastController : ControllerBase
{
    private readonly IMediator _mediator;

    public WeatherForecastController(IMediator mediator)
    {
        _mediator = mediator;
    }

    [Authorize]
    [HttpGet]
    public async Task<IActionResult> GetWeatherForecasts([FromQuery] GetWeatherForecastsQuery request)
    {
        var query = await _mediator.Send(request);

        return Ok(query);
    }

    [HttpPost]
    public async Task<IActionResult> CreateWeatherForecast([FromBody] CreateWeatherForecastRequest request)
    {
        // Mapster屬性名稱相同,可直接對應
        var command = request.Adapt<CreateWeatherForecastCommand>();

        var result = await _mediator.Send(command);

        return result ? Ok() : BadRequest();
    }

    [HttpPut("{id:int}")]
    public async Task<IActionResult> UpdateWeatherForecast(int id, [FromBody] UpdateWeatherForecastRequest request)
    {
        if (id != request.WeatherForecastId) return BadRequest();

        var command = request.Adapt<UpdateWeatherForecastCommand>();

        var result = await _mediator.Send(command);

        return result ? Ok() : BadRequest();
    }
}
|
參考
放棄 AutoMapper ,擁抱 Mapster
https://www.twblogs.net/a/61dd1d25fd6fbb767a0d57cc
使用 Mapster 處理物件對應
https://www.dotblogs.com.tw/Null/2020/03/23/221949
結論
經過一系列的簡化,Controller 程式碼已經大幅減少,變得精簡,使用者呼叫Api,Api 透過 MediatR調用請求,而應用服務(Applicatoin)層再將主要邏輯,交由領域(Domain)層來處理,形成各式各樣的微服務(Microservices)。
這種以領域層為中心、由外而內,透過聚合根(Aggregate Root)來執行主要邏輯,是一種 Clean Achitecture 架構,然而就如第一篇文章所說,系列文章沒有涉及 DDD 議題,僅記錄大致的架構分層與 MediatR 的使用。